AI Image Generator from Image: How
Learn how to use an AI image generator from image inputs to create stunning visuals. Master prompts, masks, and models with this practical Zemith guide.
You've got the photo. The subject is good, the composition is almost there, and the lighting looks like it was chosen by a tired office bulb. You could reshoot it, open Photoshop, or use an AI image generator from image to preserve the useful parts and rebuild everything that isn't working.
That last option is powerful, but it's also where expectations go wrong. An image can look brilliant on a screen and still fail as a product listing, print file, paid ad, or client deliverable. The practical workflow isn't “upload, type something cool, download.” It's reference preparation, model selection, controlled editing, resolution checks, and a final quality pass.
Why Image-to-Image AI Changed the Creative Game
A text-to-image tool starts with words. An image-to-image workflow starts with visual evidence. You provide a reference photo, then guide the model with instructions such as “keep the person's pose and jacket, replace the background with a misty forest, preserve realistic facial proportions.” The model uses both inputs, so you're not asking it to invent every structural decision from zero.
That difference matters when the original image already has something valuable. A product may have the right angle, a portrait may have a usable expression, or a scene may have a strong horizon line. Instead of throwing those decisions away, image-to-image generation lets you keep the composition while changing the mood, environment, materials, lighting, or individual objects.

The useful distinction
A text-to-image prompt might create “a premium ceramic mug on a warm kitchen counter.” An image-to-image prompt can take your actual mug photo and ask for a marble counter, softer window light, a festive setting, or a clean studio background. That's much closer to how creative teams work, because the input already contains brand-specific details that a text-only prompt can't reliably reconstruct.
The technology moved quickly from research novelty to mass creative infrastructure. One industry summary reports more than 15 billion AI-created images since 2022, with roughly 34 million images generated per day after DALL·E 2 launched. The same summary estimates that about 80%, or 12.59 billion, came through Stable Diffusion-based models and platforms. Those figures describe total AI image creation rather than image-to-image alone, but they show why reference-based editing now has a huge ecosystem around it. .
Why it belongs in a working toolkit
The best use cases are practical:
- Product variations: Keep the item consistent while changing the setting or season.
- Campaign exploration: Test several visual directions before commissioning a full shoot.
- Object replacement: Remove distracting elements or swap materials.
- Background development: Turn a plain portrait into a campaign-ready scene.
- Creative rescue: Recover a promising image that has weak lighting or a messy environment.
Zemith brings image transformation, prompt generation, and creative editing tools into one workspace, so a reference image can become both the source material and the starting point for a better prompt. Its is useful when you're still getting comfortable with the difference between describing an image and controlling one.
For social campaigns, the production question also includes whether a designer or AI tool is the right fit for each asset. A practical comparison of workflows for can help you decide where automation saves time and where human art direction still earns its keep.
Preparing Your Reference Image for Best Results
Most weak generations begin before the prompt. A blurry, poorly cropped, heavily compressed reference gives the model less reliable information, then the user blames the output for making a mess. AI can reinterpret an image, but it can't recover every missing edge, texture, or proportion with certainty.
Start with the clearest source available. Choose a photo where the primary subject is easy to identify and separated from its surroundings. A person against a plain wall is easier to edit than a person standing in front of shelves, signage, cables, and three objects that look vaguely like hats.

A quick preparation pass
Crop for the final job, not the current screen. If the image is destined for a vertical ad, give the subject room in that direction. If you're creating a square product tile, remove irrelevant edges before uploading. Cropping doesn't just improve appearance. It tells the model which visual information deserves priority.
Correct obvious defects, gently. Raise a dark exposure slightly, reduce extreme color casts, and straighten a tilted horizon. Don't apply aggressive sharpening or heavy filters first. Overprocessed details can become strange textures, especially around hair, fabric, foliage, and reflective surfaces.
Match the reference to the intended transformation. A close portrait is a poor starting point for a full-body fashion scene. A tiny product photo won't provide enough detail for a large editorial composition. If the model has to invent too much structure, it may change the very feature you hoped to preserve.
File handling that prevents pointless friction
JPG and PNG are practical choices for most image-to-image workflows. Check the platform's upload rules before starting, because limits can interrupt a batch at the least charming moment. OpenAI's documented image and file rules, summarized in this guide to , include a 20 MB cap per uploaded image, a free-tier limit of 3 file uploads per day, and up to 80 files every 3 hours for eligible users. Limits can also be reduced during busy periods.
Don't resize blindly to a tiny square just because a tutorial uses one. The right dimensions depend on the model and the final output, but the broad rule is simple: preserve enough detail for the subject while avoiding a file so large that the tool rejects it or takes too long to process.
If your source has a complicated edge, simplify it before generation. A clean cutout can make a replacement background far more predictable, and can be useful when the background is the problem rather than the subject.
Choosing Models and Crafting Effective Prompts
Models don't interpret a reference image identically. One may preserve the silhouette closely but make conservative style changes. Another may follow the creative direction more aggressively while altering small product details. Treat model choice as a production decision, not a popularity contest.
The Hugging Face Diffusers documentation identifies Stable Diffusion v1.5, Stable Diffusion XL, and Kandinsky 2.2 as popular image-to-image models and describes the core process as conditioning generation on both a text prompt and an initial image. is a useful technical reference when you want to understand what the interface is controlling under the hood.

Pick the model by the job
For a stylized transformation, try a model or checkpoint known for stronger artistic interpretation. For a commercial product image, prioritize material accuracy, edges, reflections, and stable geometry. FLUX may respond differently from SDXL to the same reference and prompt, so run a controlled comparison rather than trusting a single lucky result.
Write prompts in two layers. First, state what must remain. Then describe what should change. “Keep the original bottle shape, label placement, and camera angle. Replace the background with a dark stone counter, soft side lighting, realistic condensation, premium beverage advertising style.” That instruction gives the model a hierarchy instead of a vague mood board.
Negative prompts can help with recurring defects, but they aren't magic anti-weirdness spells. Use targeted exclusions such as “blurry label, warped geometry, extra fingers, plastic texture, unreadable text” rather than dumping a giant list into every job. For more tested prompt patterns, browse these .
If you're building designs for print-on-demand, compare tools by repeatability, editing controls, and export quality, not just how entertaining the demo looks. This guide to offers a useful starting point for evaluating that wider workflow.
Mastering Denoising Strength and Masking Controls
Denoising strength is the control that decides how much the model is allowed to depart from the reference. Lower values tend to preserve more structure and texture. Higher values give the model permission to invent, but they also increase the chance that faces, product geometry, patterns, or composition will drift.
There isn't one universal setting that works across every model, because interfaces label and calibrate controls differently. The practical approach is to make small changes and compare outputs. If the subject remains intact but the background barely changes, increase the transformation gradually. If the product label starts melting into decorative soup, reduce the strength and use a mask.

What the controls actually change
Low denoising works for refinement. Use it when you want a cleaner atmosphere, gentler lighting, or subtle texture changes. It's a sensible starting point for a photo that already has the correct composition.
Medium denoising suits style transfer. This range can change the visual language while retaining recognizable forms. Watch eyes, hands, text, and repeated patterns closely. These areas often reveal that the model has taken more freedom than you intended.
High denoising is for reconstruction. Use it when the original scene is only a rough guide or when you want a dramatic reimagining. It's less appropriate when the client expects an exact product, person, or architectural feature.
Guidance controls how strongly the prompt influences the result. More guidance can make the model follow descriptive language more directly, but pushing it too far may produce harsh contrast, unnatural textures, or an image that obeys the words while ignoring the visual logic of the reference. Treat prompt adherence and visual fidelity as two separate goals.
Masking prevents collateral damage
A mask tells the system where editing is allowed. Mask the background when the person must remain stable. Mask a jacket when you're changing its color. Mask a blemish or object when the rest of the frame already works. Full-image regeneration is faster for broad concepts, but inpainting is safer for client work because it limits the model's playground.
Practical rule: If you can point to the exact pixels that need changing, mask them instead of asking the model to rethink the whole image.
Avoid endless iterative edits. The MagicBrush benchmark found that all methods performed worse in multi-turn editing, while InstructPix2Pix often made excessive modifications and reduced photorealism. The gap from the ground truth also widened as edit turns increased. . Generate a fresh branch when an edit starts drifting instead of repeatedly repairing the same compromised file.
For detail recovery and wider compositions, an can be useful, but inspect the newly generated edges carefully. More canvas is only valuable when the added content matches the original lighting, perspective, and texture.
Bridging the Gap Between Screen and Production
That beautiful square output may look perfect in a browser preview and still be the wrong file for a poster, marketplace listing, or paid advertisement. Many popular generators still produce images natively around 1024×1024, which can work for social posts but falls short for print-on-demand, large posters, and some product listings. also notes that even newer 4K-native systems can remain 2–3× below large-format print requirements, while the industry is moving toward 4 MP-class outputs.
The mistake is checking resolution at the end. Decide the delivery format first, then build backward. A social asset has different demands from a packaging mockup. A marketplace image needs clean product edges and legible details. A large print needs enough source information that upscaling doesn't turn fabric into watercolor or text into decorative hieroglyphics.
A production-minded export check
- Inspect fine details: Look at logos, jewelry, hair, small type, and repeated textures at actual size.
- Upscale with restraint: AI upscalers can add convincing detail, but they can also invent texture. Compare the enlarged file with the original rather than assuming bigger means better.
- Keep an untouched master: Save the generated source before resizing, sharpening, or color conversion.
- Check the complete composition: Extra space created by outpainting can expose mismatched shadows or an impossible horizon.
- Run a client-style review: Ask whether someone could use the asset without explaining its defects.
Zemith's image generation and editing tools can fit into this workflow when you need to transform a reference, remove or replace an element, and prepare a more usable creative direction. The platform's is best treated as one stage in production, not a substitute for checking the final deliverable.
Troubleshooting Common Image-to-Image Failures
When an output looks “off,” don't immediately rewrite the entire prompt. Diagnose the failure by asking whether the model misunderstood the reference, received too much freedom, or was asked to solve several conflicting problems at once.
The usual failure patterns
The prompt gets ignored. Shorten it and put the key instruction first. “Keep the red backpack and front-facing pose” should appear before decorative language about atmosphere. If the tool still refuses to follow the direction, test another model with the same reference and wording.
The subject changes too much. Reduce denoising, tighten the crop, or mask the area that must survive. A reference image with a tiny subject gives the model less structural information, so select a closer source when identity or product shape matters.
Faces, hands, and text look wrong. Isolate the problem with inpainting instead of regenerating the full frame. Text remains a difficult area for many generators, so create clean space for typography and add final copy in a design tool rather than trusting the model to typeset a campaign headline.
The image is over-smoothed. Reduce aggressive enhancement and avoid stacking multiple “beauty,” “cinematic,” and “ultra-detailed” instructions. Preserve natural texture in the source, then sharpen selectively after generation.
The background has believable objects but impossible physics. Check shadows, reflections, scale, and contact points. A chair that doesn't touch the floor may pass a quick scroll but won't survive a client review.
When safety filters block a request
Moderation is part of image-to-image use. Uploaded images and prompts may be screened, with common blocks involving explicit sexual content, sexualized requests involving people, abusive or harassing content, violent or harmful instructions, illegal activity, identity-based hate, misleading depictions of real people, and attempts to bypass safety rules. outlines those categories.
Rewrite the request around a legitimate visual goal instead of trying to evade a filter. Use consented, appropriate references, avoid misleading depictions of real people, and separate harmless edits from requests that combine a real person with deceptive or harmful context.
Trust also matters after the image is generated. Content credentials and digital watermarks are increasingly being built into editing platforms to record origin and changes, which is important for regulated, journalistic, and brand-sensitive work. discusses why provenance is becoming a practical requirement, not a fancy badge for the settings menu.
Building Your Repeatable AI Image Workflow
Start with the final use, then choose the reference. Prepare the crop and file, write a preservation-first prompt, and test the model with controlled changes. Use lower transformation for refinement, masks for localized edits, and a new branch when repeated corrections begin to damage the image.
Save the prompt, model, reference, mask, and export version together. That small habit turns a lucky result into a repeatable asset pipeline. For batches, group images with similar camera angles and lighting, then keep the same wording and controls until you've confirmed that the treatment holds across the set.
Before delivery, inspect the image at its intended size, check small details, confirm that the composition supports the placement of copy, and verify that the result can be traced or explained when the project requires provenance. The creative win isn't producing one spectacular preview. It's producing a set of assets you can publish, print, or send to a client without apologizing for the weird hand in the corner.
Zemith lets you upload a reference image, transform it with a prompt, generate a prompt from an existing image, and use editing tools such as object or background replacement in the same workspace. Visit to turn image-to-image experiments into a more controlled workflow for ads, product visuals, social content, and client-ready creative work.
Explore Zemith Features
Everything you need. Nothing you don't.
One subscription replaces five. Every top AI model, every creative tool, and every productivity feature, in one focused workspace.
Every top AI. One subscription.
ChatGPT, Claude, Gemini, DeepSeek, Grok & 25+ more







Always on, real-time AI.
Voice + screen share · instant answers
What's the best way to learn a new language?
Immersion and spaced repetition work best. Try consuming media in your target language daily.
Voice + screen share · AI answers in real time
Image Generation
Flux, Nano Banana, Ideogram, Recraft + more

Write at the speed of thought.
AI autocomplete, rewrite & expand on command
Any document. Any format.
PDF, URL, or YouTube → chat, quiz, podcast & more
Video Creation
Veo, Kling, Grok Imagine and more
Text to Speech
Natural AI voices, 30+ languages
Code Generation
Write, debug & explain code
Chat with Documents
Upload PDFs, analyze content
Your AI, in your pocket.
Full access on iOS & Android · synced everywhere
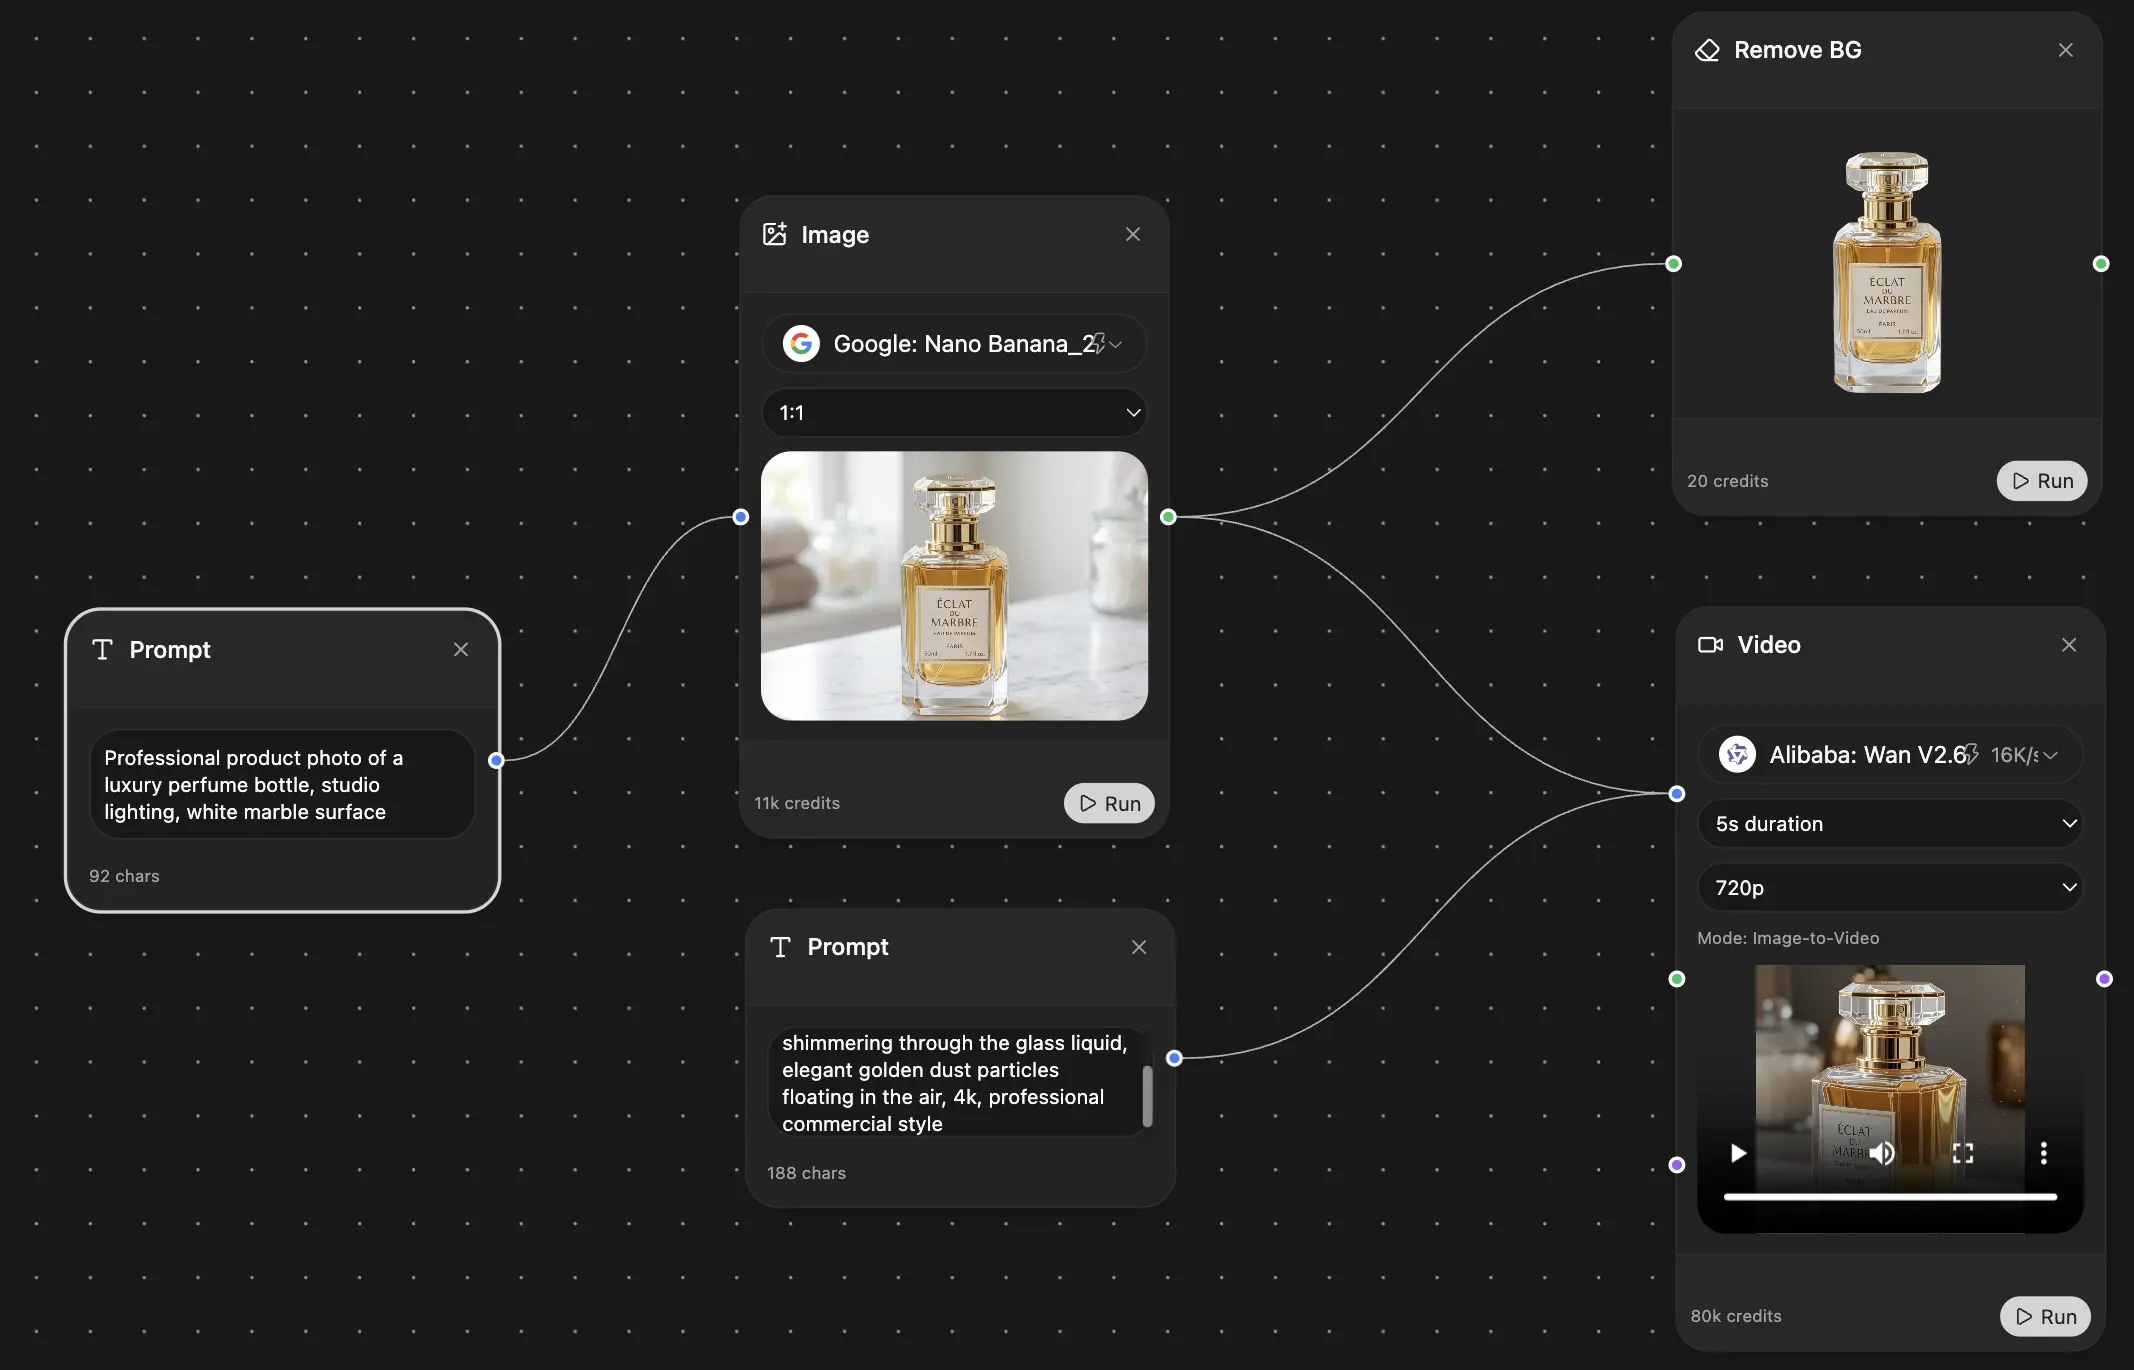
Your infinite AI canvas.
Chat, image, video & motion tools — side by side
Save hours of work and research
Transparent, High-Value Pricing
Trusted by teams at

Free
No credit card required
- 100 credits daily
- 3 AI models to try
- Basic AI chat
Plus
- 1,000,000 credits/month
- 25+ AI models — GPT, Claude, Gemini, Grok & more
- Agent Mode with web search, computer tools and more
- Creative Studio: image generation and video generation
- Project Library: chat with document, website and youtube, podcast generation, flashcards, reports and more
- Workflow Studio and FocusOS
Professional
- Everything in Plus, and:
- 2,100,000 credits/month
- Pro-exclusive models (Claude Opus, Grok 4, Sonar Pro)
- Motion Tools & Max Mode
- First access to latest features
- Access to additional offers
What Our Users Say
Great Tool after 2 months usage
simplyzubair
I love the way multiple tools they integrated in one platform. So far it is going in right dorection adding more tools.
Best in Kind!
barefootmedicine
This is another game-change. have used software that kind of offers similar features, but the quality of the data I'm getting back and the sheer speed of the responses is outstanding. I use this app ...
simply awesome
MarianZ
I just tried it - didnt wanna stay with it, because there is so much like that out there. But it convinced me, because: - the discord-channel is very response and fast - the number of models are quite...
A Surprisingly Comprehensive and Engaging Experience
bruno.battocletti
Zemith is not just another app; it's a surprisingly comprehensive platform that feels like a toolbox filled with unexpected delights. From the moment you launch it, you're greeted with a clean and int...
Great for Document Analysis
yerch82
Just works. Simple to use and great for working with documents and make summaries. Money well spend in my opinion.
Great AI site with lots of features and accessible llm's
sumore
what I find most useful in this site is the organization of the features. it's better that all the other site I have so far and even better than chatgpt themselves.
Excellent Tool
AlphaLeaf
Zemith claims to be an all-in-one platform, and after using it, I can confirm that it lives up to that claim. It not only has all the necessary functions, but the UI is also well-designed and very eas...
A well-rounded platform with solid LLMs, extra functionality
SlothMachine
Hey team Zemith! First off: I don't often write these reviews. I should do better, especially with tools that really put their heart and soul into their platform.
This is the best tool I've ever used. Updates are made almost daily, and the feedback process is very fast.
reu0691
This is the best AI tool I've used so far. Updates are made almost daily, and the feedback process is incredibly fast. Just looking at the changelogs, you can see how consistently the developers have ...